There’s a moment on any long trail — somewhere between the third day out and the first frost of the evening — when a hot meal stops being a comfort and becomes a genuine necessity. You’ve been grinding miles all day, your legs are done, and the only thing standing between you and a proper recovery is whether your stove actually fires up in the wind. That’s when gear stops being a conversation and starts being a reality.
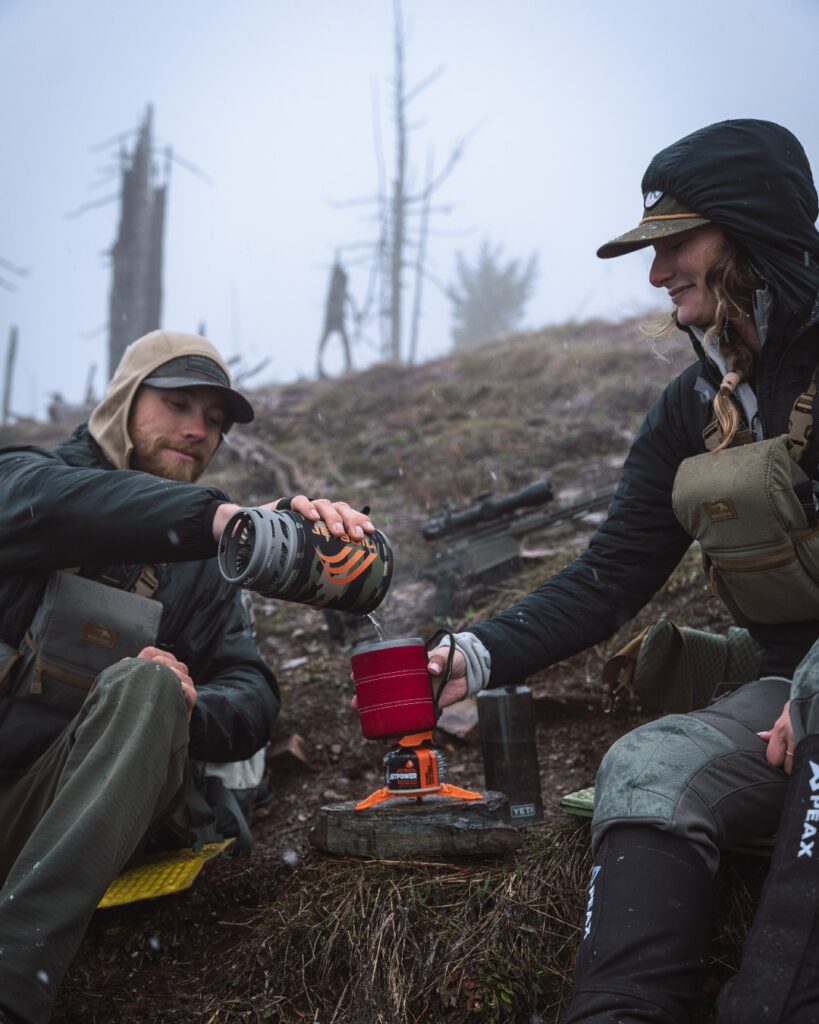
Gas stoves remain by far the most popular choice among trekkers and backpackers — and for good reason. They’re fast, clean, simple to operate, and the fuel canisters are widely available at outdoor shops and trail towns across the world. But « a gas stove » is not a single thing. It’s a whole ecosystem of burner designs, integrated systems, weight classes, and real-world trade-offs that matter enormously once you’re above 2,000 metres with fading daylight.
This guide cuts through the noise. Whether you’re planning your first multi-day hike in the Vosges or a two-week traverse of the GR20, here’s what actually matters when choosing a gas stove for the trail.
Understanding What You Actually Need
Before looking at specific models, it’s worth being honest with yourself about the kind of trips you take. A solo fastpacker covering 30 km a day in dry summer conditions has radically different needs from a duo spending ten days in the Scottish Highlands in October. Both will use a gas stove. The stove they should carry is not the same one.
The variables that shape your choice are: the number of people in your group, the altitude and season you’re hiking in, whether you’re cooking real meals or just boiling water for freeze-dried pouches, and how much you care about cutting gram by gram from your base weight. Answer those questions honestly before you touch a product page.
The Two Main Categories: Canister Burners vs. Integrated Systems
Almost every gas stove on the market falls into one of two camps, and understanding the difference between them is the single most useful thing you can learn before buying.
Canister Burners: Freedom and Flexibility
A canister burner is exactly what it sounds like — a compact burner head that threads directly onto an isobutane-propane canister. You use it with whatever pot or pan you already own. Stoves like the SOTO Windmaster, the MSR Pocket Rocket 2, or the Primus Lite+ sit in this category. They’re typically compact, featherlight (the SOTO Windmaster tips the scales at 67g), and leave you free to choose your own cookware.
The trade-off is that they’re more exposed to the elements. In wind, a naked flame loses efficiency fast, and while some burners — particularly the Windmaster — have genuinely impressive wind resistance built into their burner head design, they’ll never match the shelter of an integrated system. On the other hand, a canister burner lets you simmer properly, cook in a wide pan, and generally behave like an actual kitchen tool rather than a water-boiling machine.
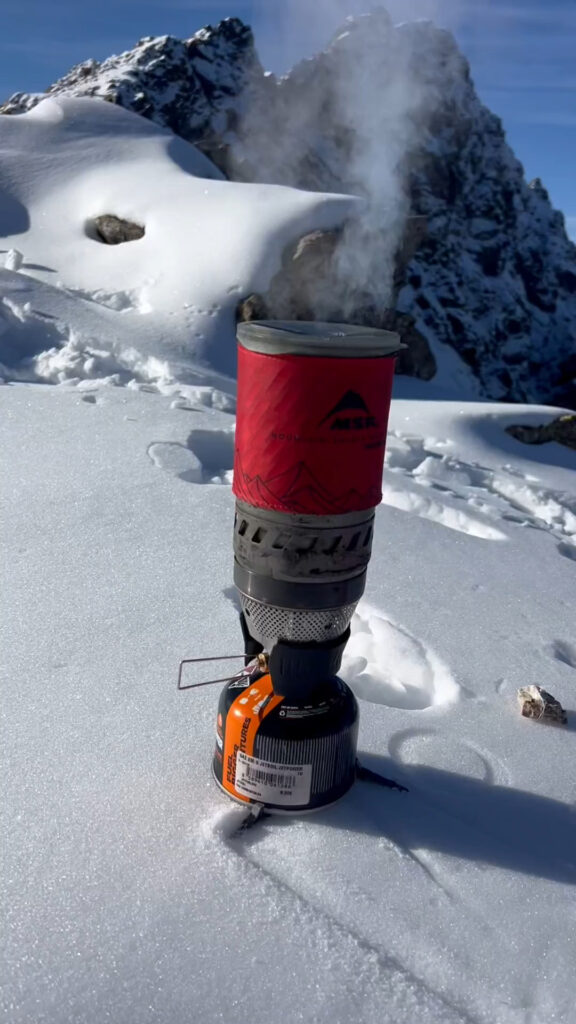
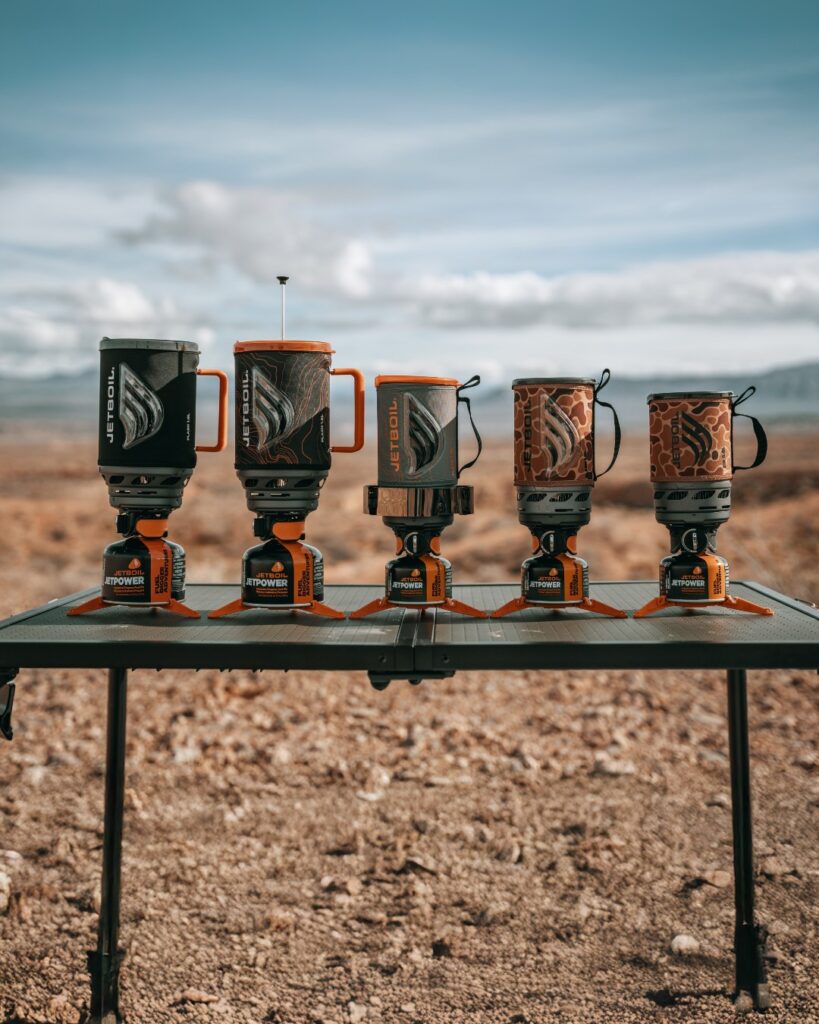
Integrated Systems: Speed, Efficiency, and Simplicity
An integrated stove system — think Jetboil Flash, Jetboil MiniMo, or MSR Windburner — combines the burner with a proprietary insulated pot or mug in a single, self-contained unit. The pot locks onto the burner, the heat exchanger on the bottom of the vessel dramatically improves fuel efficiency, and the whole thing packs into itself for transport. It’s the definition of optimised for a specific task: boiling water, fast.
The Jetboil Flash, for instance, can bring half a litre to a boil in around 100 seconds — a figure that sounds almost unfair compared to a standard canister burner in the same conditions. For through-hikers living off freeze-dried meals who value simplicity and speed above all else, an integrated system is hard to argue against.
But they come with real compromises. You’re locked into the system’s pot. Simmering is limited or nonexistent on some models (the MiniMo is a notable exception, with a regulator valve that actually gives you flame control). They tend to be bulkier to pack than a slim canister burner. And if you want to cook for two or three people, the small 0.8-litre capacity of most integrated systems becomes a genuine logistical problem.
Wind: The Variable Nobody Talks About Enough
Ask any experienced trekker what kills their cooking time most consistently, and they’ll tell you it’s not the altitude, it’s the wind. A modest breeze of 15-20 km/h can double your boil time and slash your fuel efficiency in half. That’s not a minor inconvenience on a multi-day trip — it’s meaningful weight in extra canisters you’re carrying.
Some stoves handle wind noticeably better than others. The SOTO Windmaster’s micro-regulator burner and low-profile design have earned it a genuine reputation for wind resistance. The MSR Windburner and Reactor use a radiant burner inside a shielded system that essentially makes wind a non-factor. Standard canister burners, for all their other virtues, genuinely benefit from a physical windscreen — or simply from positioning yourself and your stove intelligently relative to whatever natural shelter is available.
The lesson here is not that you need a specific stove to cook in the wind. It’s that wind resistance should be a conscious part of your decision-making, not an afterthought.
Weight vs. Reality: How Light is Light Enough?
The ultralight community has done a remarkable job of making backpackers obsess over every gram. And for good reason — base weight matters, especially on long trips. But stove weight deserves some context.
The difference between a 67g canister burner and a 110g model is 43 grams. The isobutane canister you strap it to weighs between 100g and 450g depending on size. Your full cooking kit — stove, fuel, pot, lighter, windscreen — will weigh somewhere between 300g and 700g regardless of whether you went ultralight on the burner or not. The single biggest lever on cooking system weight is not the stove itself; it’s the fuel canister size you choose based on trip length.
That said, for true ultralight backpackers who are counting every gram and keeping their base weight under 5kg, a stove like the BRS-3000T (a frankly astonishing 25g) or the SOTO Windmaster does make a real difference across a ten-day trip. For everyone else, the difference between the lightest and the most practical option is probably less meaningful than it seems on paper.
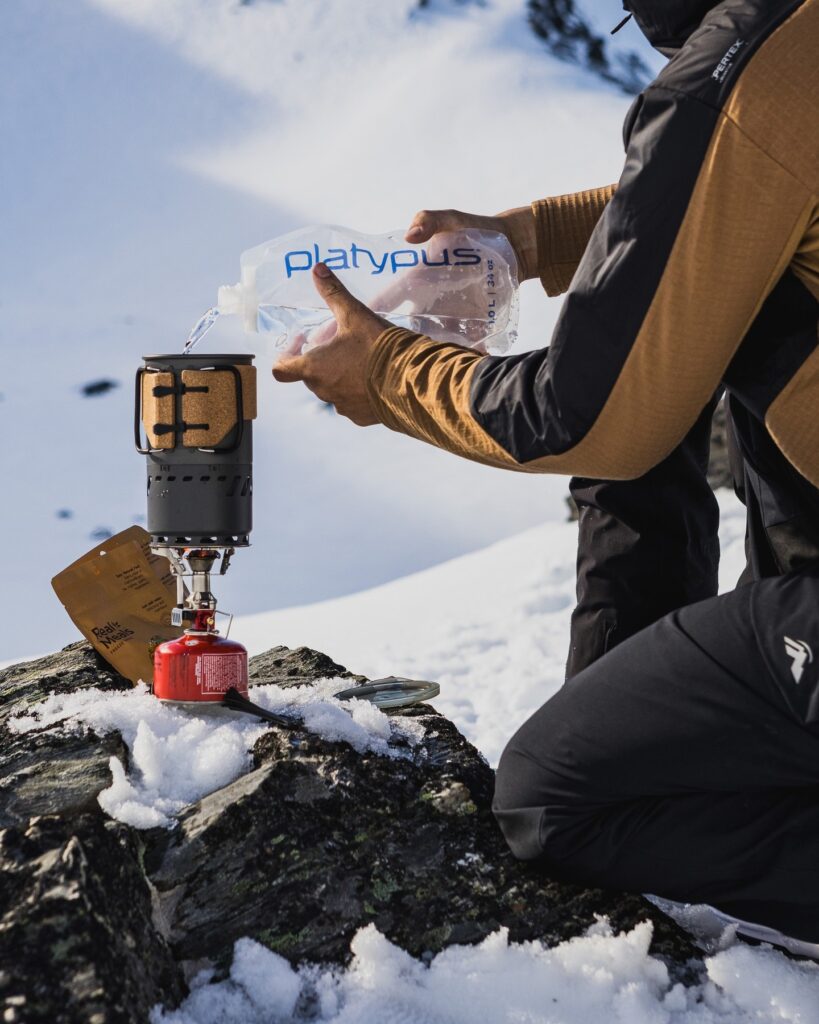
Altitude and Cold: When Standard Gas Fails You
Standard isobutane-propane canisters don’t like cold weather. Below roughly 0°C, the pressure inside the canister drops, and your stove starts to sputter. If you’re trekking in the Alps in winter, on a Himalayan approach, or simply at high altitude in autumn, you’ll feel this in ways that range from annoying to genuinely dangerous.
There are two answers to this problem. The first is a pressure regulator — stoves like the MSR PocketRocket Deluxe, the SOTO Windmaster, and the entire MSR Windburner and Reactor range include a built-in regulator that maintains consistent output regardless of canister pressure. This is worth paying for if you’re regularly heading into cold conditions.
The second answer is keeping your fuel canister warm — inside your sleeping bag at night, in a jacket pocket during the day. It sounds rudimentary, but it genuinely works, and it’s a technique every serious winter trekker uses regardless of what stove they carry.
Our Picks: The Stoves Worth Knowing
Rather than an exhaustive ranking, here are the stoves that represent the clearest thinking in each category, based on real-world trail performance.
For most trekkers: SOTO Windmaster
The Windmaster is the stove that consistently surprises people who come to it with moderate expectations. At 67g with the standard three-pronged pot support, it punches well above its weight class for wind resistance and flame control. The simmer capability is genuine — not a marketing claim. The detachable 4Flex pot support is optional but worth the extra few grams for stability with larger pots. It’s the closest thing to a perfect all-round canister burner currently on the market.
For speed and simplicity: Jetboil Flash or MiniMo
If your priority is boiling water fast and getting a hot meal with minimum fuss at the end of a long day, the Jetboil ecosystem delivers. The Flash is the faster system; the MiniMo trades a few seconds of boil time for a genuine simmer function and a more ergonomic, wider pot that’s easier to eat directly from. Either one is a serious piece of kit for a solo hiker or a couple sharing meals.
For the ultralight purist: MSR PocketRocket 2
Simple, light, reliable, and priced accessibly, the PocketRocket 2 has been the default recommendation for budget-conscious ultralight hikers for years. It doesn’t have a pressure regulator and it won’t win a wind resistance test, but it starts reliably, burns cleanly, and does the job on three-season trips in non-extreme conditions. For someone building their first lightweight kit on a reasonable budget, it remains one of the most sensible starting points.
For extreme conditions and winter: MSR Reactor
When conditions are genuinely hostile — sustained wind, sub-zero temperatures, high altitude — the MSR Reactor is in a class of its own for canister stoves. The radiant burner sits inside a completely enclosed heat exchanger system, making it almost immune to wind. It’s heavier and more expensive than everything else on this list, and the simmer control is minimal. But if you’re climbing a serious peak or trekking in deep winter, the reliability it offers is worth every euro.
The Fuel Question: A Practical Note
All the stoves above run on isobutane-propane canisters — the screw-top type, most commonly in the 100g, 230g, and 450g sizes. This type of canister has become the near-universal standard in mountaineering and trekking, and you’ll find it in outdoor shops across Europe, North America, and most popular trekking destinations in Asia.
A practical rule of thumb: for a solo trekker boiling water twice a day (morning coffee, evening meal), a 100g canister lasts roughly three to four days in temperate conditions. In cold weather or at altitude, count on less. Carry a small canister in reserve on longer trips, and don’t start a trip with a partially-used canister whose remaining fuel you can’t accurately estimate.
One final point on fuel: not all canisters are equal. The mix of isobutane to propane varies between brands, which affects cold-weather performance. In winter conditions, look for canisters with a higher propane content (Jetboil, MSR, and Primus all market cold-weather formulations). This is a small detail that makes a real difference below freezing.
The Bottom Line
A gas stove is one of the highest-impact investments you make in a trekking kit. It’s there every morning and every evening, in good conditions and bad ones, on short trips and on the journeys that reshape how you see the world. It deserves more thought than a last-minute purchase at the outdoor shop before you leave.
The best stove for you is not necessarily the lightest one, or the most expensive one, or the one that topped the most recent review roundup. It’s the one that matches your actual conditions, your cooking habits, and the realistic demands of the trips you take. Start there, and the right stove will follow.