hill.camp does not test products first-hand. This guide is a structured synthesis of 15 independent sources — beginner bikepacking guides, gear specialists, and rider first-hand accounts — assembled with AI assistance and edited before publication.
Every bikepacker’s first trip goes roughly the same way: too much gear, a route that’s slightly too ambitious, and a bike that handles like a shopping cart for the first two hours until the load settles. None of that ruins the trip. What ruins a first trip is not knowing any of it was coming. This guide exists to close that gap — what bike to actually use, how to build a bag system that doesn’t fight you, how to pack it so the bike still steers where you point it, and how to pick a first route that builds confidence instead of testing it.
Do You Need a Special Bike?
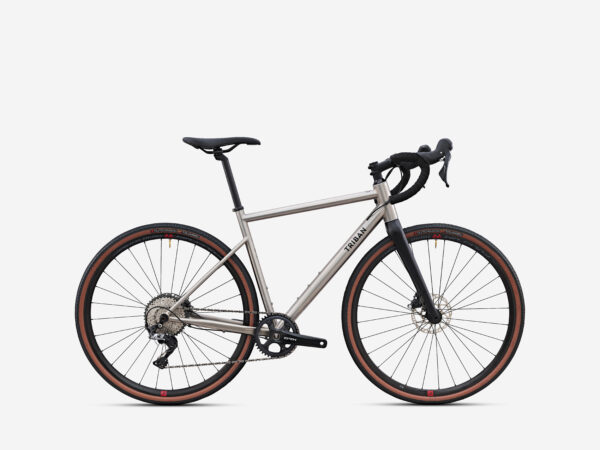
Almost certainly not the one you’re imagining. The honest answer is that a gravel bike or a rigid or hardtail mountain bike covers the vast majority of first bikepacking trips, and the choice between them comes down to terrain rather than ambition. A gravel bike is lighter, faster on mixed surfaces, and usually already has the mounting points a bag system needs. A rigid or hardtail mountain bike is heavier and slower, but it trades that for real comfort and stability once the terrain turns loose, rocky, or technical — a difference that matters more than most beginners expect once a loaded bike is descending on gravel rather than climbing it.
If your first route is mostly dirt roads, forest tracks, and smooth gravel with the occasional paved link, a gravel bike is the more versatile pick, and if you’re still shopping for one, our complete gravel bike buying guide covers the fit and geometry questions that matter most once you start loading bags onto the front triangle. If singletrack or genuinely rough terrain is part of the plan, a hardtail earns its extra weight. But the more important point, echoed by riders who’ve done genuinely ambitious first trips on whatever bike happened to be in the garage, is that a bike doesn’t need to be purpose-built to get you started — one well-known first-timer took on a 10-day route on an old trail bike with no dropper post and came back convinced the bike mattered far less than he’d assumed. Either way, don’t buy a bike for bikepacking before your first trip — most riders start on whatever they already own, discover what the terrain actually demands, and upgrade later with real information instead of guesses. One thing worth doing early regardless of bike choice: revisit your bike fit before a loaded multi-day ride, since a position that’s fine for a two-hour Sunday ride can turn into real discomfort over eight hours a day for three days straight.
The Bag System: What Actually Carries Your Gear
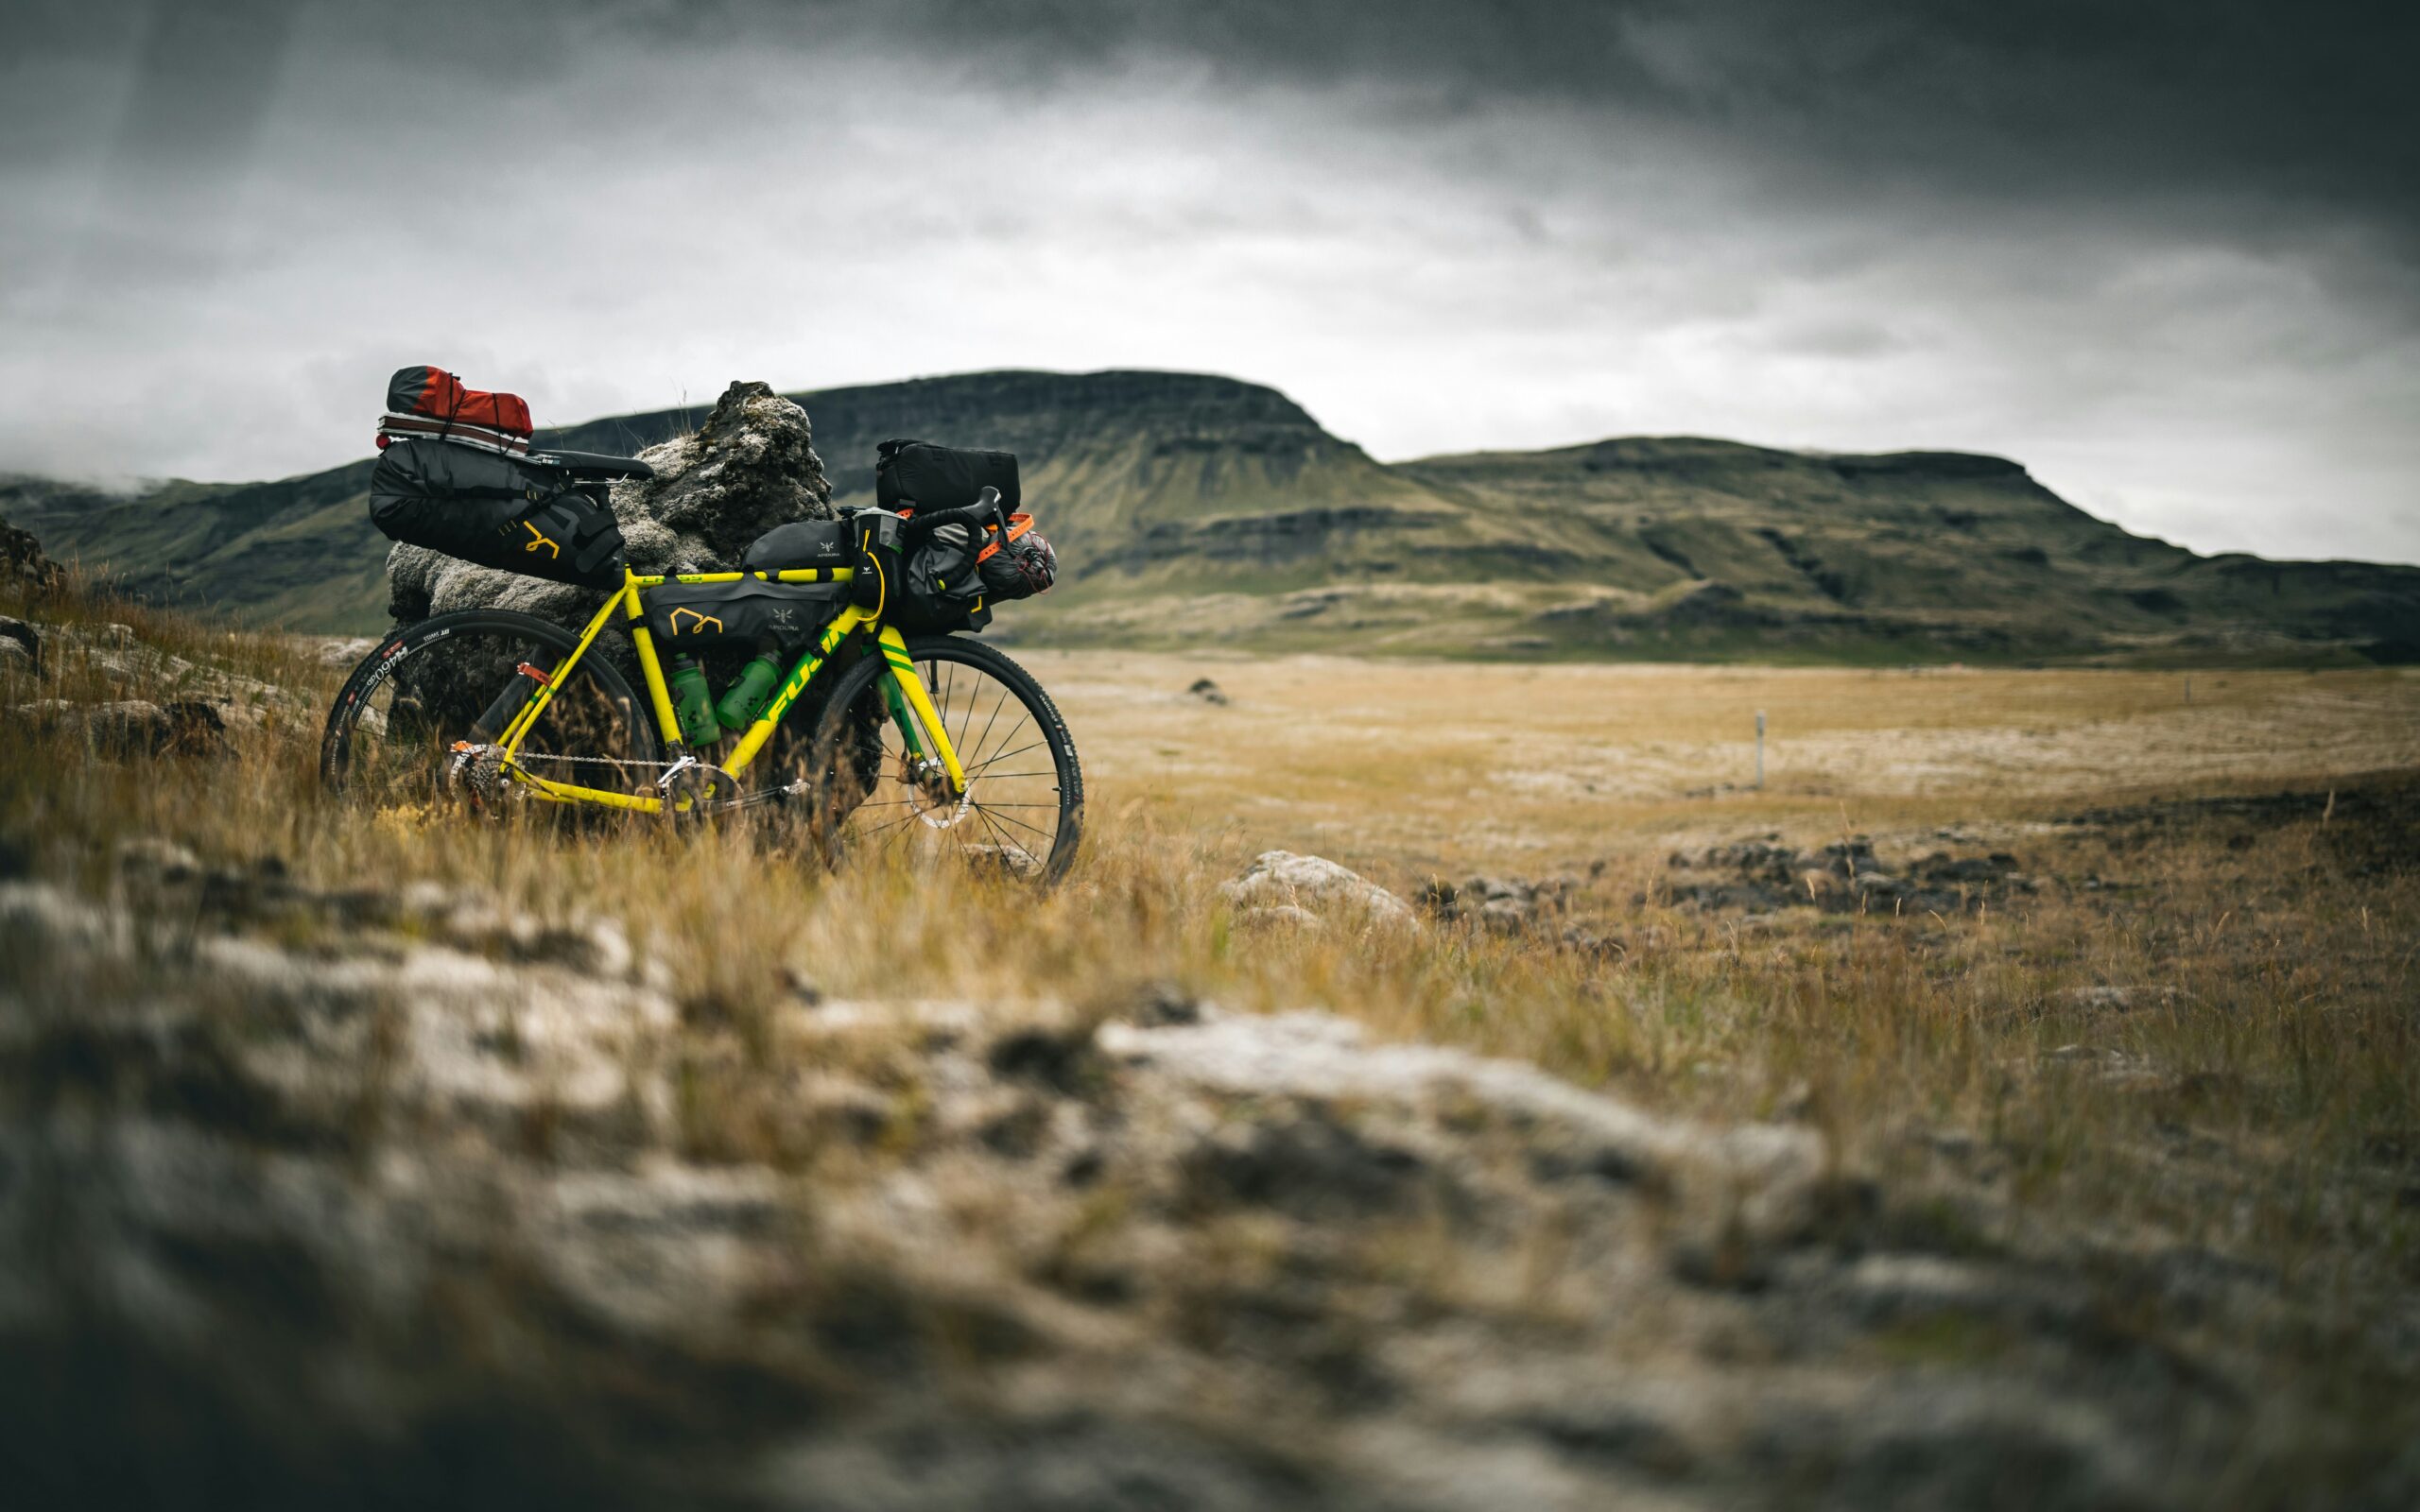
Bikepacking bags exist because panniers and racks add weight, width, and points of failure that become liabilities the moment the terrain gets rough. Instead, gear is distributed across three or four soft bags that strap directly to the bike: a frame bag inside the main triangle, a seat pack behind the saddle, a handlebar roll or harness up front, and often a smaller top tube or accessory bag for things you need without stopping.
The frame bag is the most valuable real estate on the bike because it sits lowest and most centered, which makes it the right place for your heaviest items — tools, a water bladder, food, spare parts. The seat pack is best reserved for bulky but light gear: your sleeping bag, spare clothing, rain shell. The handlebar roll typically carries the tent and sleeping pad, since both are light and compressible, but it’s also the bag that wrecks handling fastest if it’s overloaded or poorly secured, so keep it as light as the rest of the system allows. For your first trip, a half-frame bag that still leaves room for a bottle cage is a sensible starting point rather than committing to a full custom setup before you know how you actually like to pack. It’s also worth saying plainly: a small backpack or improvised straps and dry bags will get a first trip done just fine, and more than one experienced bikepacker has learned the hard way that skipping the frame bag on trip one and relying on a loaded backpack instead just shifts the discomfort from the bike to your lower back and sit bones.
On brand choice, two names dominate almost every conversation about bikepacking bags, and we’ve put them head-to-head in our Apidura vs Ortlieb comparison if you’re deciding where to put your first budget. If your handlebar space is the piece you’re still missing, our guide to the best gravel handlebar bags breaks down harness systems versus direct-mount rolls, which matters more than it sounds if your bike routes cables externally along the bar.
How to Pack So the Bike Still Handles
The single rule that matters more than any other: heavy items go low and centered, light items go high and toward the ends of the bike. A loaded bike’s handling is dominated by where the weight actually sits relative to its center of mass, not by how much total weight you’re carrying. A handlebar bag stuffed with tools makes the front end top-heavy and vague. A seat pack overloaded with dense gear makes the rear want to pivot around the back axle, especially when climbing out of the saddle.
A packing order that tends to work well: stuff the seat pack first, sleeping bag toward the back with layers of clothing in front of it, compressed hard enough that the finished shape is a lozenge rather than a sphere — a rounded, bulging seat pack sways on rough terrain in a way a tight, flat one doesn’t. Strap it to both the saddle rails and the seatpost, tightening the seatpost strap last to stop it sagging. Roll the handlebar bag narrower than your actual bar width, with the tent and pad inside and poles wrapped in a spare shirt before they go anywhere near the fabric — bare metal against bag material wears through embarrassingly fast. Build the frame bag last, with the heaviest items as low in the bag as physically possible.
The most common beginner mistake isn’t underpacking or overpacking — it’s putting the wrong things in the wrong bags. A puffy jacket stuffed into a frame bag eats the space meant for water and tools without adding meaningful weight where it’s needed, which then forces heavier items into the seat pack or handlebar roll, and the whole system stops working as designed. If your bag is bulging against the down tube or pinching the top tube against your knees, that’s not a packing problem to solve with a tighter strap — it’s a sign the bag is the wrong size for your frame. Don’t agonize over the perfect layout before you leave, either — most riders end up rearranging everything after the first day out once they know what they actually reach for.
Planning a Route You Won’t Regret
The best first bikepacking route is the one that lets you make mistakes without consequences. That means a loop rather than a point-to-point ride, since loops don’t require shuttle logistics if something goes wrong. It means passing through towns with resupply options rather than committing to a fully self-sufficient stretch. And it means staying inside cell coverage for a first overnighter, even if the appeal of bikepacking is partly about disconnecting — that trade-off can wait until trip three or four. Some experienced riders go further and recommend keeping the whole first outing to 15-30 km within riding distance of home, precisely so a forgotten item or an equipment problem is an inconvenience rather than a crisis.
Distance matters less than most beginners assume. A loaded bike rides meaningfully differently from an unloaded one — sustainable all-day effort on a loaded bike tends to sit noticeably below what the same rider can hold unloaded, so a distance that feels comfortable on a normal ride can be a genuine effort once bags are on the bike. An overnight trip of 40 to 80 km, depending on terrain, is a realistic first outing that still leaves margin for a wrong turn, a slow climb, or simply stopping to enjoy the view; riders coaching complete beginners toward their first multi-day trip often narrow that further, to roughly 40-65 km a day with no more than 700-800 metres of climbing, on the logic that day-three fatigue has little to do with day-one fitness. For route planning tools, Komoot and RideWithGPS both let you filter by surface type and generate elevation profiles segment by segment, which matters more on a mixed-terrain bikepacking route than it does on a paved club ride, and bikepacking.com’s route library is worth a look for graded, rider-submitted overnighters if you’d rather follow a known route than build your own.
Navigation, Power, and Staying Fed
A phone loaded with a routing app covers most first trips, but it’s worth having a backup plan for both navigation and battery before you’re relying on either mid-route. A dedicated GPS unit or a downloaded offline map removes the single point of failure a phone represents, and a compact power bank — even a modest one — comfortably covers a phone and a GPS unit for a two- or three-day trip, especially if you top it up at every café or bar stop rather than waiting until it’s empty.
Food strategy splits into two honest camps: riding hotel-to-hotel or through towns with regular shops, where carrying much beyond snacks and a backup dinner is unnecessary, or riding remote enough that a lightweight stove and a couple of dehydrated meals are genuinely worth the extra grams. For a first overnighter, err toward the first camp — plan your day around known resupply points rather than carrying a full cooking kit, and treat a stove as something to add once you know whether your route actually needs one. Whichever camp you’re in, pack more food than you think you’ll need for the day; running low on calories late in the afternoon has an outsized effect on both mood and decision-making. If your riding stretches into the evening at any point, lights aren’t optional — plans change, mechanicals happen, and more than a few experienced bikepackers have ended up riding after dark on a first trip that was never supposed to run that late.
What to Actually Bring Beyond the Bags
Sleep, shelter, and layering are where most beginners either over- or under-pack, and both mistakes are expensive in different ways — carrying too much punishes you every kilometre, carrying too little punishes you once, badly, on a cold night. Our sleeping bag guide covers how to match a bag’s temperature rating to the season and altitude you’re actually riding in, which is a more useful exercise than buying whatever bag is lightest. Don’t feel obligated to buy a tent for a first outing, either — camping, a mid-trip hotel or guesthouse, or a mix of both are all legitimate ways to spend the night, and starting with whatever shelter you can borrow or afford keeps the initial outlay low while you figure out whether you actually enjoy sleeping outside. On clothing, our complete guide to bikepacking clothing and accessories goes deeper into layering for changeable weather without turning your seat pack into the heaviest bag on the bike.
A few smaller items are worth deciding on before you leave rather than mid-trip: how you’ll carry water on the route you’ve chosen — our bottles versus hydration pack breakdown is a useful starting point if you haven’t settled that yet — a spare derailleur hanger if your route includes rock strikes or singletrack, since it’s the single most common part beginners forget and the one that can turn a mechanical into a long walk, and a helmet that’s actually suited to hours in the saddle rather than a quick commute; our gravel helmet guide covers what changes once ventilation and all-day comfort matter more than aerodynamics. Tire choice deserves the same attention — our science-based gravel tire guide explains why wider isn’t automatically better once a bike is fully loaded.
Common First-Trip Mistakes to Skip
Test-ride the bike fully loaded before departure day. A bike that feels fine empty in the driveway can feel completely different with 8-10 kg distributed across three bags, and the first time to discover that is not thirty kilometres into an unfamiliar route. That same test run is the moment to check that your bags actually keep water out — more than one rider has learned on a first trip, mid-storm, that their bags were only water-resistant rather than waterproof, and has had to improvise with bin liners around a sleeping bag as a result. A small bottle of extra tubeless sealant or a spare tube earns its weight the same way; a slow leak that won’t hold air is a common and fixable problem if you’re carrying the fix.
Don’t ride solo on a first trip longer than an overnighter or in genuinely remote terrain — a second rider means shared tools, shared mechanical help, and a real safety margin if something goes wrong, and splitting a stove or a tent between two riders also keeps both bikes lighter. Build in more time than you think you need; a rough rule used by experienced riders is planning for roughly 20% longer than a comparable unloaded ride would take, since loaded climbing, photo stops, and navigation checks all add up. And resist the urge to pack for every possible scenario — the gear that actually improves a trip is gear chosen deliberately and tested beforehand, not gear added because it might theoretically help. It’s also worth accepting upfront that a route rarely goes exactly to plan, and that’s not really a flaw in the trip — a wrong turn, a change in the weather, or a slower-than-expected climb tend to be the parts riders remember afterward, not the parts they regret.
Our Take
The gap between « interested in bikepacking » and « actually did a bikepacking trip » is smaller than it looks from the outside. You don’t need a dedicated bike, an expensive bag system, or a remote multi-week route to find out whether you like it — you need a loop route with resupply options, a half-frame bag or borrowed setup, and one night away from home. It’s also worth naming the obvious: some pre-trip nerves about fitness, navigation, or sleeping somewhere unfamiliar are completely normal, and they tend to fade fast once the bike is actually rolling. Everything else — the custom frame bag, the ultralight tent, the fully dialed gearing — is a second-trip problem, and it’s much easier to solve once you know from experience what your first setup got wrong.
FAQ
What’s the minimum gear I need for a first bikepacking trip?
A bike with somewhere to mount a seat pack and handlebar bag, a sleep system rated for the conditions, basic repair tools including a spare derailleur hanger and tube, layers for changeable weather, and a way to carry enough water for the stretches between resupply points. Everything beyond that is a refinement, not a requirement.
Do I need a gravel or mountain bike specifically, or can I use what I already own?
Most first trips are done on whatever bike the rider already owns. A gravel bike suits mixed terrain and dirt roads well, while a rigid or hardtail mountain bike handles rough, technical, or loose terrain more comfortably at the cost of extra weight. Neither is wrong for a first trip on approachable terrain.
How far should a beginner plan to ride on their first bikepacking trip?
An overnight loop of roughly 40 to 80 km, depending on terrain and elevation, is a realistic distance that leaves margin for slower-than-expected pace on a loaded bike. Distance should scale down, not up, if the terrain includes significant climbing or technical sections.
Do I need to bring a stove and cook my own food?
Not for most first trips. If your route passes through towns with shops or restaurants, carrying a backup dinner and some snacks is enough. A stove earns its weight once a route is remote enough that reliable resupply can’t be counted on.
Is it safer to bikepack solo or with a partner for a first trip?
A partner is recommended for any first trip longer than a single night or on remote terrain, mainly because it provides mutual support for mechanicals and a real safety margin if something goes wrong. Shorter, well-populated overnighters with reliable cell coverage are reasonable to do solo.
Once the first overnighter is behind you, the bag system tends to be the piece worth upgrading first — a properly fitted frame bag and a harness-based handlebar setup make a bigger difference to how the bike actually rides than almost any other single change. Apidura’s official range is a solid place to start comparing dedicated bikepacking bags once you know what your first setup got right and wrong.